How to Crochet for Beginners: The Complete Step-by-Step Guide
Learning how to crochet for beginners starts with two tools and one simple motion: pulling loops of yarn through other loops with a hooked needle. If you have never touched a crochet hook before, you are exactly who this guide was written for.
The short answer: To crochet, you use a hooked needle to pull loops of yarn through other loops, building fabric one stitch at a time. Beginners should start with smooth, light-colored medium-weight yarn and a 5 mm or 5.5 mm hook. Learn the chain stitch first, then single crochet, and practice both before starting a simple first project like a dishcloth.
This guide assumes zero prior knowledge. We will not rush you, we will not drown you in abbreviations, and we will not pretend your first row will look perfect. (It will not, and that is completely normal.) By the end, you will know what crochet is, what to buy, how to hold your tools, which two stitches to learn first, and what to make once you know them.
Take it one section at a time. There is no test at the end — only a hook, some yarn, and a brand-new skill waiting for you.
In This Guide
- What Crochet Actually Is
- What You Need to Start Crocheting
- How to Hold Your Crochet Hook and Yarn
- Your First Two Stitches: Chain Stitch and Single Crochet
- Your First Project Path: Dishcloth to Scarf
- 5 Common Beginner Mistakes (and What to Do Instead)
- Beginner Crochet FAQ
- Final Thoughts
- Your Next Step
Your Quick-Start Facts
- What you’ll learn: what crochet is, the supplies you need, how to hold your tools, your first two stitches, a beginner project path, and how to fix the most common mistakes.
- Time needed: about 1–2 hours for your first practice session, plus a few weeks of short, relaxed sessions to feel comfortable.
- Skill level: absolute beginner — no experience needed and nothing assumed.
- Cost: around $10–$20 for your first hook and yarn.
What Crochet Actually Is
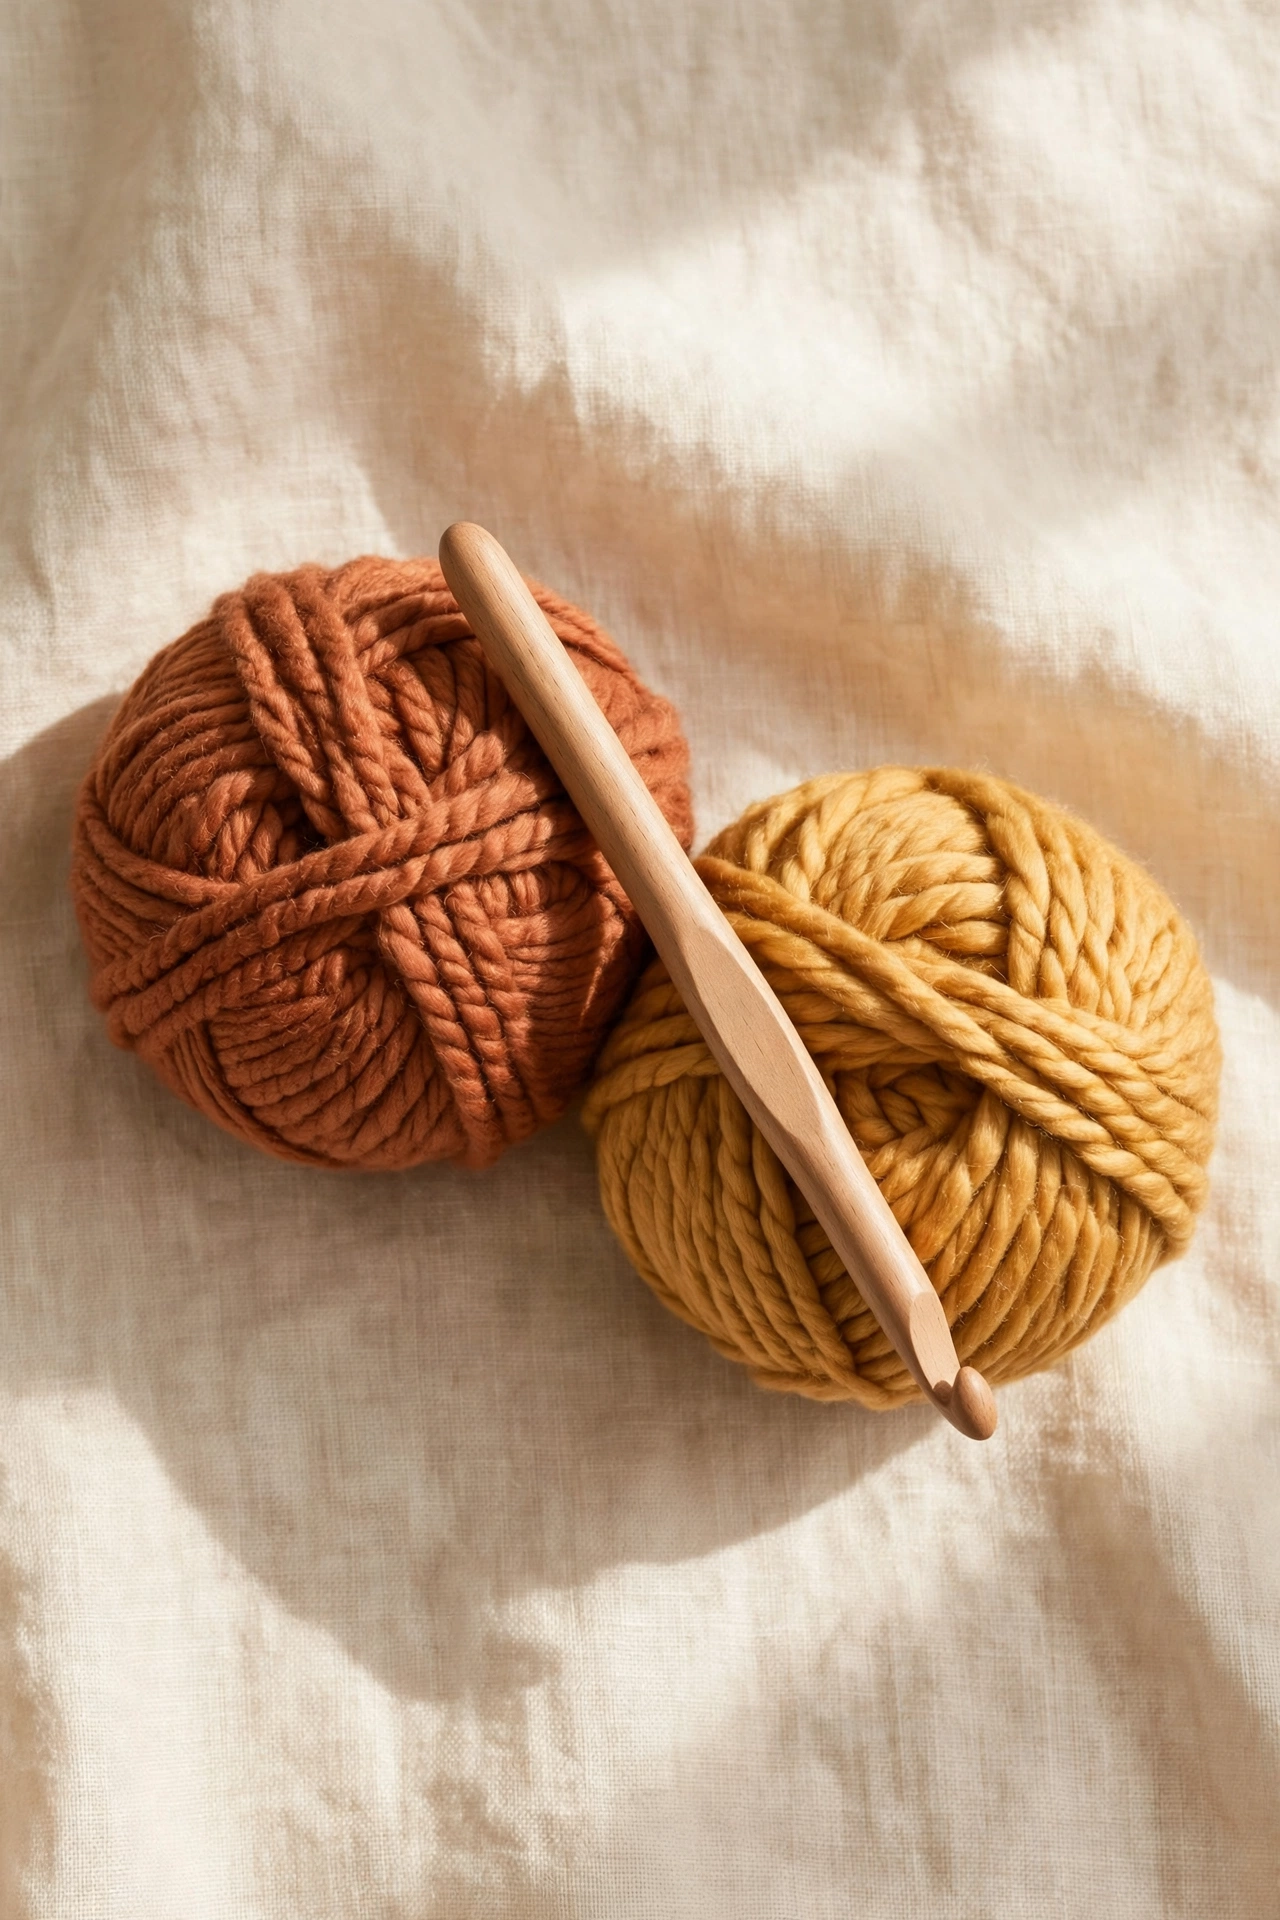
Crochet is a way of making fabric from yarn using a single hook. Every stitch is a loop pulled through another loop, and those linked loops build up into cloth — the same basic idea behind a knitted sweater, worked one loop at a time with one tool.
Crochet and knitting are cousins, not twins. Knitting uses two needles and keeps many live stitches waiting on them at once. Crochet uses one hook and holds only one live loop at a time. That single difference matters for beginners: with only one loop to watch, it is easier to see what you are doing, and if something goes wrong you can simply pull the yarn and unravel back to the trouble spot.
People pick up crochet for all kinds of reasons: handmade gifts, cozy blankets, a quiet hand-craft to enjoy alongside music or an audiobook, or simply the pleasure of turning a ball of string into something real. Whatever brought you here, the craft meets you exactly where you are.
The key to this step is remembering that crochet is just loops through loops — everything impressive you will ever see is built from that one simple idea.
What You Need to Start Crocheting
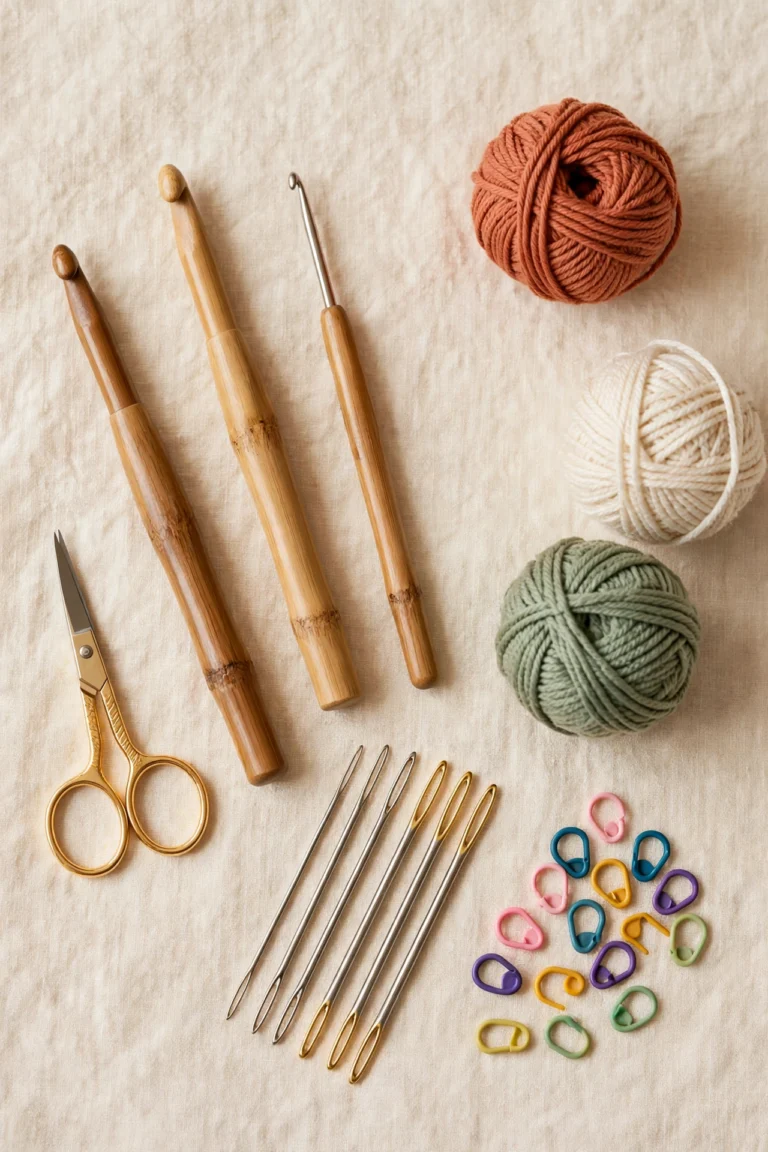
Here is the honest truth: you need very little to begin. Craft stores would happily sell you a deluxe forty-piece kit, but a beginner needs exactly four things.
The short list: a 5 mm (H-8) or 5.5 mm (I-9) crochet hook, one ball of smooth medium-weight (#4) yarn in a light color, a small pair of scissors, and a yarn needle (also called a tapestry needle) for weaving in your ends later. That is the entire starter kit.
Why these specific choices? A mid-size hook is comfortable to grip, and your stitches will be large enough to see clearly. Medium-weight yarn — labeled #4 on the package, sometimes called worsted — is the most common yarn in stores, so help and patterns for it are everywhere. Smooth, light-colored yarn matters most of all: fuzzy or very dark yarn hides your stitches and makes learning much harder than it needs to be. The Craft Yarn Council’s standard yarn weight system explains what those numbers on the label mean.
Expect to spend around $10 to $20 in total for your first hook and a ball or two of yarn — a basic aluminum hook costs around $3 to $8, and a ball of medium-weight acrylic yarn costs around $4 to $8.
We have a full buying guide that walks through every option — hook materials, yarn fibers, and what to skip for now: What Do You Need to Start Crocheting?
Your starter kit checklist
- ☐ One 5 mm or 5.5 mm crochet hook
- ☐ One or two balls of smooth, light-colored medium-weight (#4) yarn
- ☐ Small scissors
- ☐ A yarn needle for weaving in ends
- ☐ A comfortable chair and good light (this matters more than you think)
The key to this step is keeping your kit simple — one comfortable hook and one beginner-friendly ball of yarn will take you further than a bag of gadgets you don’t understand yet.
How to Hold Your Crochet Hook and Yarn
There are two classic ways to hold a crochet hook. The pencil grip holds the hook the way you would hold a pencil. The knife grip holds it the way you would hold a dinner knife, with your hand resting over the top. Neither grip is more correct than the other — most crocheters try both and settle on whichever feels natural after a few rows.
Your other hand has its own job: feeding the yarn and controlling tension, which is simply how tightly the yarn flows as you work. Many beginners wrap the yarn around one finger once or twice to keep it steady. Your tension will be uneven at first. That is completely normal, and it evens out with practice — not with finding one magic hand position.
If your hand cramps, you are gripping too hard. Shake your hands out, roll your shoulders, and start again more loosely. Crochet should never hurt.
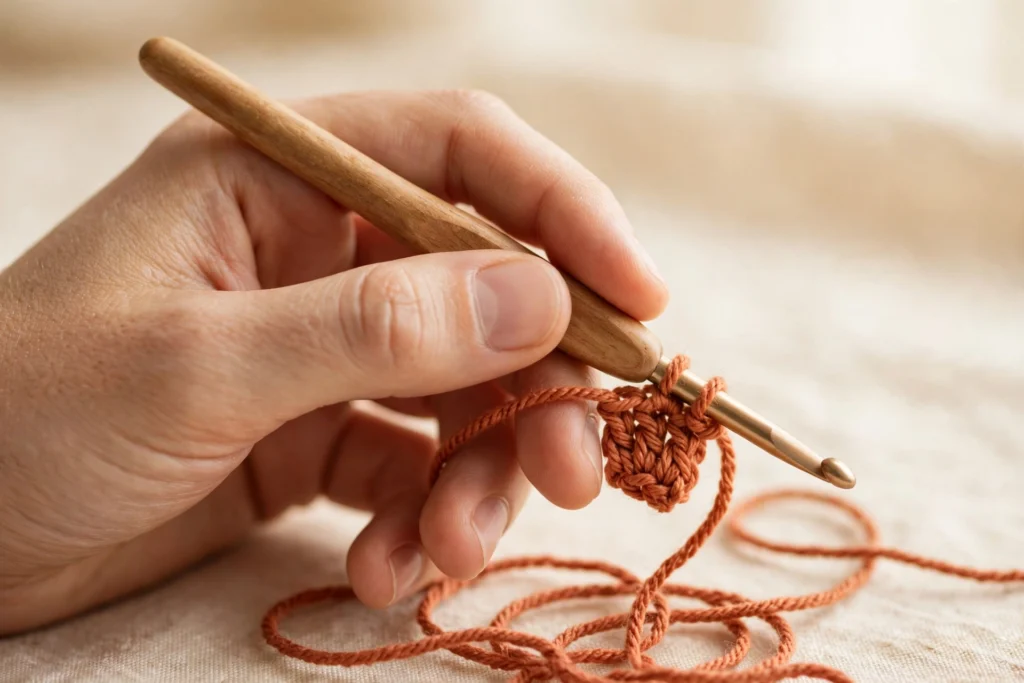
We cover both grips, yarn-wrapping methods, and tension fixes step by step in our dedicated guide: How to Hold a Crochet Hook.
The key to this step is finding the grip that keeps your hands relaxed — tension in your hands becomes tension in your stitches.
Your First Two Stitches: The Chain Stitch and Single Crochet
Every crochet project ever made is built from a small family of stitches, and two of them do most of the work for beginners: the chain stitch and single crochet. Learn these two and you can already make real, useful things.
First, the Slip Knot
Before your first stitch comes the slip knot: an adjustable loop that anchors your yarn to the hook. Almost every flat project begins with one. (Experienced crocheters sometimes start chains without a formal slip knot, but learning the knot first keeps things simple.)
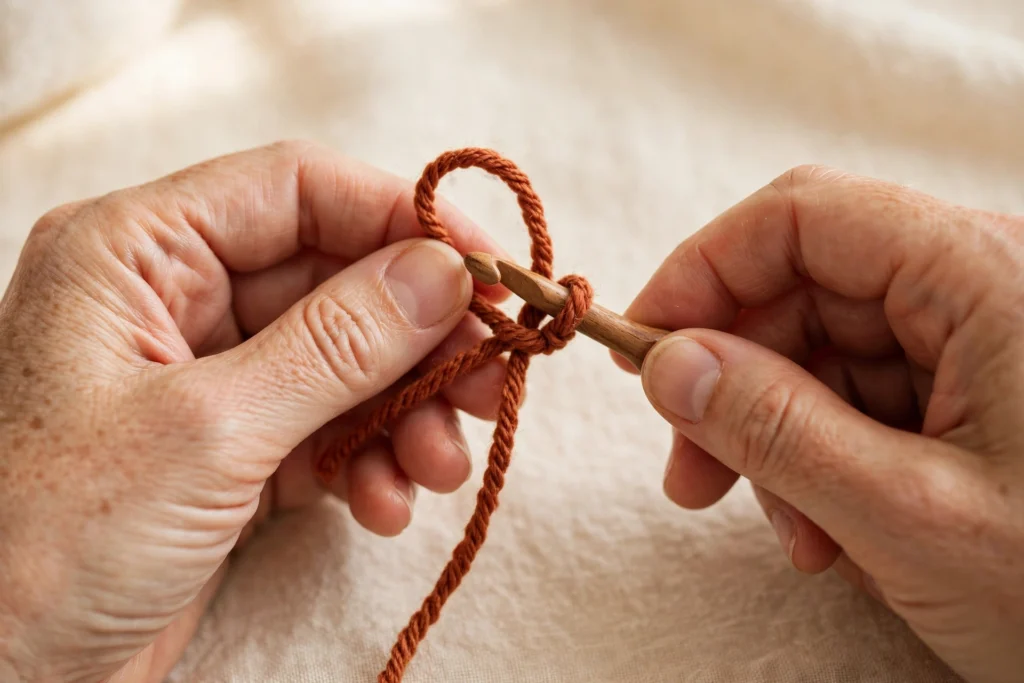
The Chain Stitch (ch)
The chain stitch is a row of interlocking loops that looks like a tiny braid. It is the foundation of flat crochet: nearly every scarf, dishcloth, and blanket begins life as a chain, and every other stitch is worked into it.
Chains also give your rows their starting height. When you finish a row and turn your work around, you make a few chains to bring the yarn up to the height of the next row. So even after you “move past” the chain stitch, you will use it in every project you ever make.
You will know your chains are right when each loop is roughly the same size and the chain lies flat instead of twisting into a tight cord. If it curls like a telephone cord, your grip is too tight — loosen your fingers and try again.
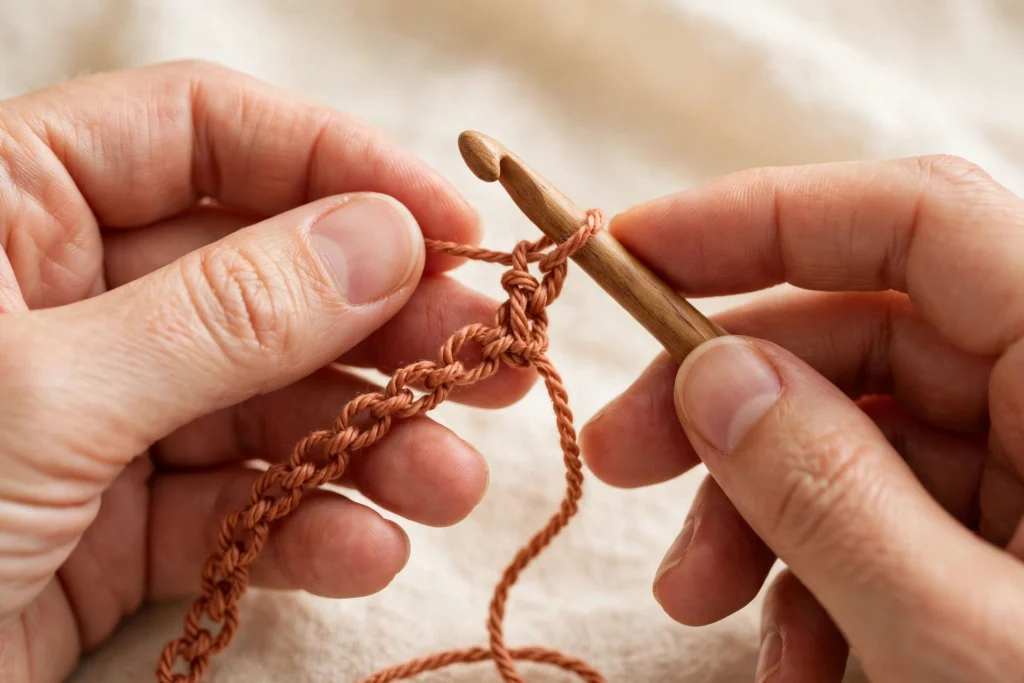
The key to this stitch is keeping your chains even and relaxed — a too-tight foundation chain is the single most common beginner struggle.
Single Crochet (sc)
Single crochet is the shortest and densest of the basic stitches. You insert your hook into a stitch, pull up a loop, then pull the yarn through both loops on your hook. The result is a tight, sturdy fabric — ideal for dishcloths, coasters, and anything that needs to hold its shape.
Because each stitch is short, single crochet fabric grows slowly. That sounds like a drawback, but for beginners it is a gift: slow growth means lots of repetition, and repetition is exactly how your hands learn.
A quick note on abbreviations: patterns shorten “chain stitch” to ch and “single crochet” to sc. The Craft Yarn Council keeps the master list of standard crochet abbreviations, which is worth bookmarking for later.
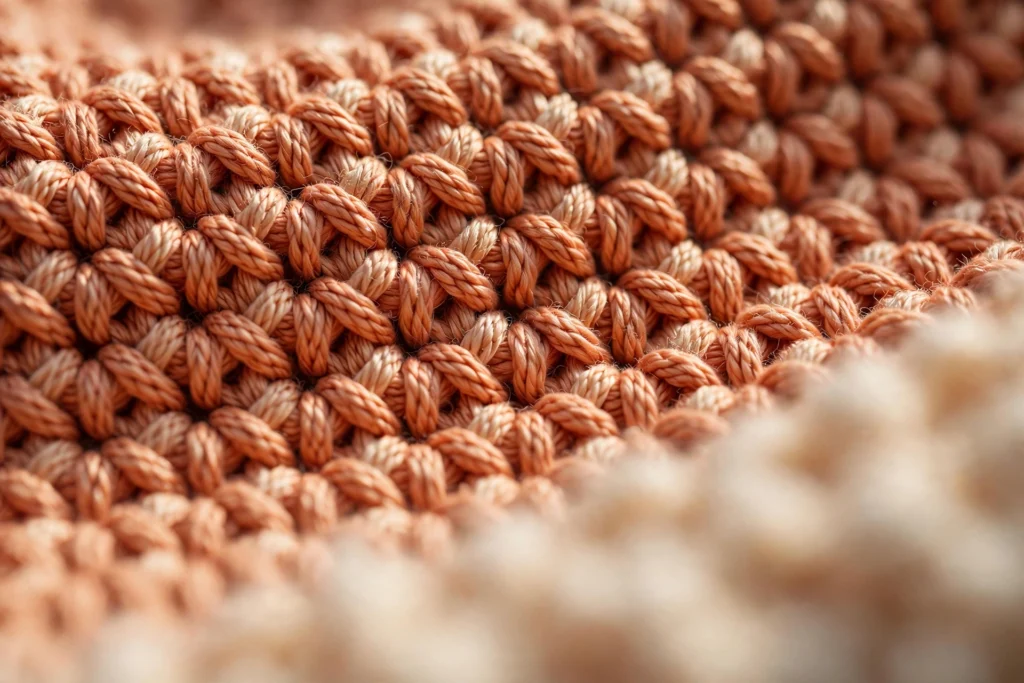
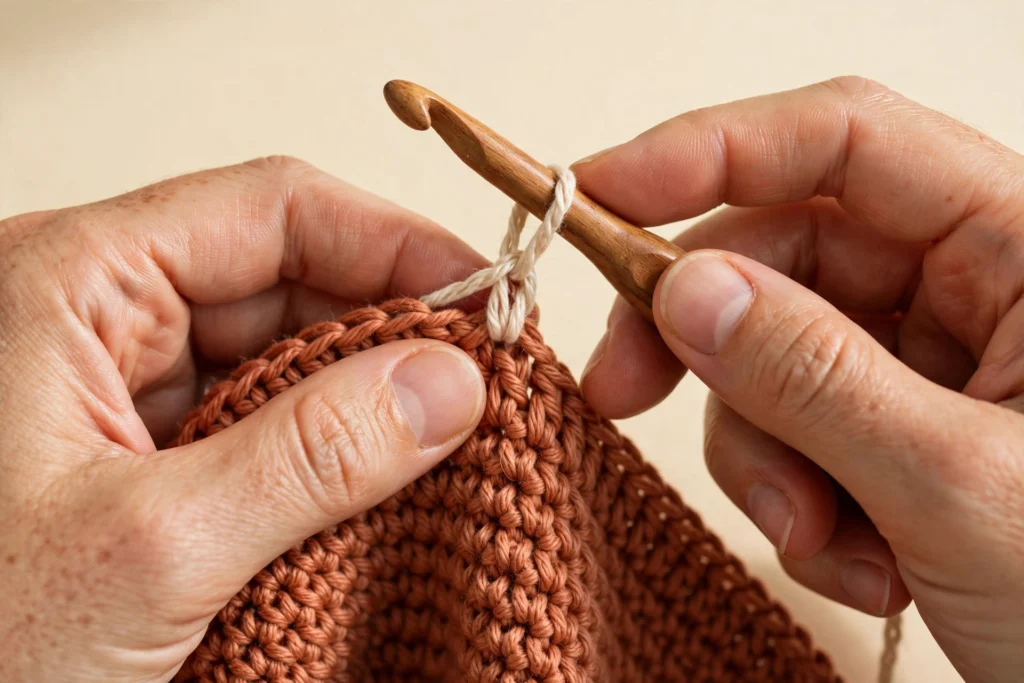
The key to this stitch is sliding your hook under both loops of each stitch and keeping the same gentle rhythm all the way across the row.
Your first stitches at a glance
| Stitch | What it looks like | What you’ll use it for first |
|---|---|---|
| Slip knot | An adjustable loop sitting on your hook | Starting almost every project |
| Chain stitch (ch) | A flat braid of V-shaped links | The foundation row of scarves, cloths, and blankets |
| Single crochet (sc) | Short, tight, dense little stitches | Your first dishcloth and practice swatches |
Your First Project Path: Dishcloth → Granny Square → Scarf
Beginners often ask what to make first, and the internet answers with fifty options at once. Here is a calmer suggestion: three projects, in order, each one teaching you exactly one new skill.
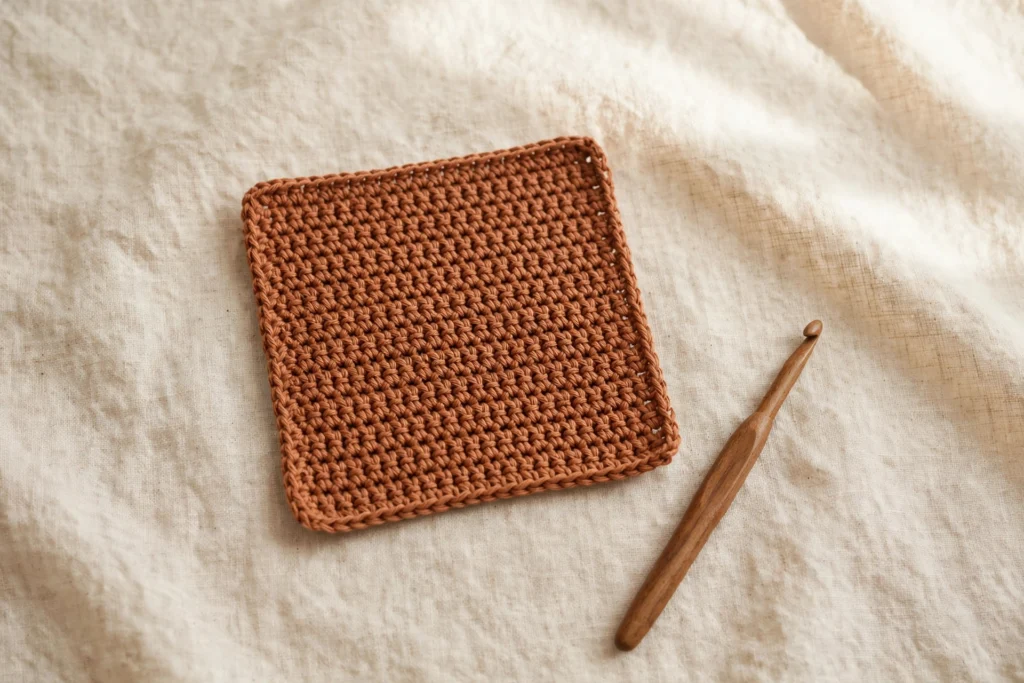
Project 1: a dishcloth (or washcloth). It is small, square, and made almost entirely of single crochet. It finishes quickly, it is genuinely useful even if your edges wobble, and nobody has ever judged a dishcloth.
Project 2: a granny square. This beloved classic teaches you to work in the round — crocheting in circles rather than back-and-forth rows — and introduces the taller double crochet stitch. One square becomes a coaster; join a handful together and you have the start of a blanket.
Project 3: a scarf. Long, simple rows of your favorite stitch. A scarf teaches consistency and patience, and it makes a wonderful first handmade gift.
Notice what this path does: each project reuses what the last one taught you and adds just one new idea. That is how skills stack up without overwhelm.
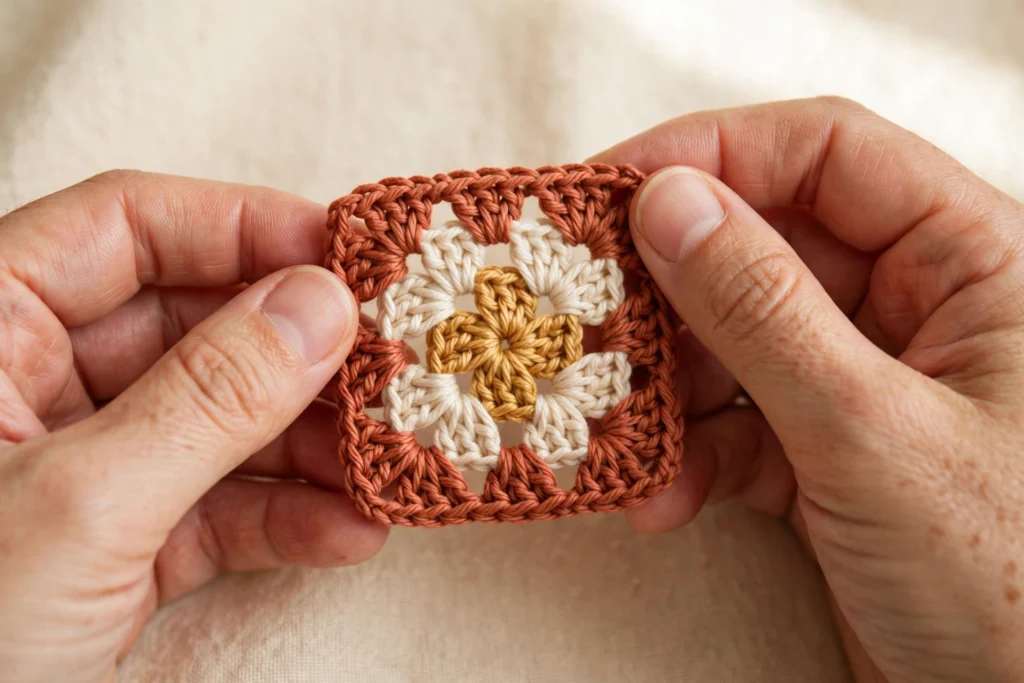
Am I ready for my first project?
- ☐ I can tie a slip knot without looking it up
- ☐ I can chain 20 stitches that lie reasonably flat
- ☐ I can work one row of single crochet into a chain
- ☐ I can count my stitches at the end of a row
- ☐ I know how to pull out a row and start it over (see the next section)
The key to this step is finishing small things before starting big ones — each finished piece teaches your hands something new.
5 Common Beginner Mistakes (and What to Do Instead)
Every crocheter makes these. Every single one. Here is how to spot them early and fix them without frustration.
1. Starting with fuzzy or very dark yarn. Fancy textured yarns look lovely in the skein and hide every stitch on the hook. Start with smooth, light-colored yarn — you can graduate to the pretty stuff once you can read your stitches.
2. Holding the hook in a death grip. White knuckles make tight, uneven stitches and sore hands. Relax your shoulders, loosen your fingers, and let the hook do the work.
3. Chaining too tightly. A tight foundation chain curls, fights your hook, and makes the first row miserable. Fix it now: make your starting chain with a hook one size larger than the one you’ll use for the project, then switch back to your regular hook for row one.
4. Losing count of your stitches. Rows that mysteriously grow or shrink almost always mean added or skipped stitches at the edges. Count your stitches at the end of every row while you’re learning — it takes ten seconds and saves hours of unraveling.
5. Treating unraveling as failure. Crocheters even have a word for pulling out stitches: frogging (“rip it, rip it”). Unraveling is not failing; it is editing. The yarn doesn’t mind, and neither should you.
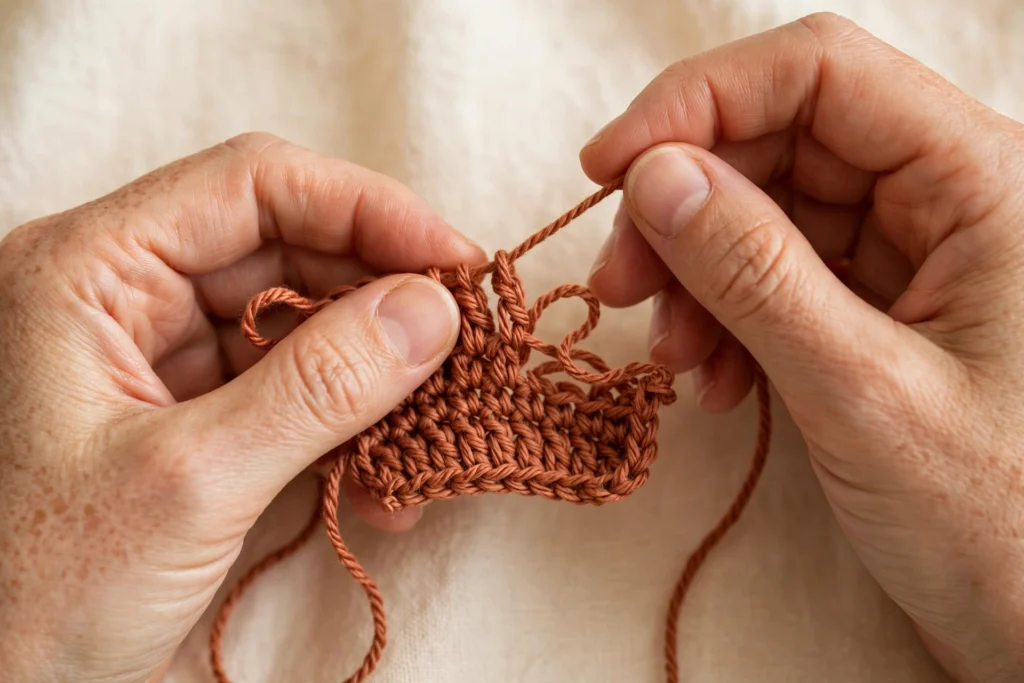
The key to this step is treating every mistake as information, not failure — your hook is a patient teacher.
Beginner Crochet FAQ
What is the first thing I should crochet as a beginner?
A dishcloth or washcloth. It is small, square, uses only the stitches in this guide, and finishes fast enough to keep you motivated. Save blankets and sweaters for later — they are wonderful goals, but they are marathons, and you want a few short wins first.
What size crochet hook should a beginner start with?
A 5 mm (H-8) or 5.5 mm (I-9) hook. This mid-range size is comfortable to hold and makes stitches large enough to see clearly. Check your yarn label too — it recommends a hook size, and matching the two keeps things simple.
What size yarn should a beginner use for crochet?
Medium-weight (#4) yarn, sometimes labeled worsted. Choose a smooth texture in a light, solid color so you can see each stitch. Avoid fuzzy, bumpy, or very dark yarns until you can read your stitches confidently.
How long does it take to learn how to crochet?
You can make your first chain and a few rows of single crochet in one or two relaxed sittings. Feeling comfortable — even tension, reading your stitches, fixing small mistakes — usually takes a few weeks of short, regular practice. Short daily sessions beat one long monthly marathon.
Can crochet be self-taught?
Yes. Plenty of crocheters learn entirely from written guides, photos, and videos, practicing one stitch at a time. Many beginners pair a written guide like this one with video lessons — Lion Brand’s free beginner guide, for example, walks through the same first stitches with helpful photos. Go slowly, repeat each step until it feels familiar, and don’t skip the “boring” practice rows — they are where the learning happens.
Which is harder, knitting or crocheting?
Neither is objectively harder; they are simply different. Crochet uses one hook and keeps a single live loop at a time, which many beginners find less intimidating — there is only ever one stitch that can unravel on you. Knitting uses two needles and holds many live stitches at once. If crochet clicks for you, enjoy it; you can always try knitting later.
Final Thoughts
You now know what crochet is, what to buy, how to hold your tools, which two stitches come first, what to make, and what to do when things go sideways. That is genuinely everything you need to begin.
Your first rows will be uneven. Your edges will wobble. Keep going anyway — every skilled crocheter started with uneven rows. That part is universal, and it passes with practice.
If you are new to CozyCrochetHQ, our Start Here page maps out the whole beginner series in order. And if you would like to know the person behind these guides, you will find that on our About page.
Your Next Step
Ready to gather your supplies? Head to our complete buying guide: What Do You Need to Start Crocheting? Pick up one hook and one ball of yarn, then come back here and make your first chain. We will be right here when you are ready.